This guide provides general installation notes for drilling and mounting bracket systems to ensure safe and stable fixture support. Since mounting plates and structural designs may vary across different lighting models, exact hole positions should always be determined according to the actual hardware provided with each product. Before installation, carefully verify the bracket structure and ensure all anchors or fasteners are properly selected and securely installed. All fixing points should be fully seated and flush with the mounting surface to guarantee proper load-bearing performance and long-term safety.
I. Pre-Installation Essentials
Wall Requirements
Install on solid brick or concrete. NO hollow bricks or gypsum boards. Ensure wall flatness within 0.5mm error.
Drilling Specs
Confirm bracket hole positions before drilling. Sizes vary by fixture. Each ceiling plate requires specific measurement for alignment.
Safety Load
Standard Duty: ≤15kg. Heavy Duty: 30-50kg. Fix every 40-50cm. Double-person install required for large appliances.
II. Preparation & Tools
Essential Tools:
Impact Drill Spirit Level Tape Measure Marker Screwdriver Hammer
Consumables:
Expansion Anchors Self-tapping Screws Waterproof Sealant Shims
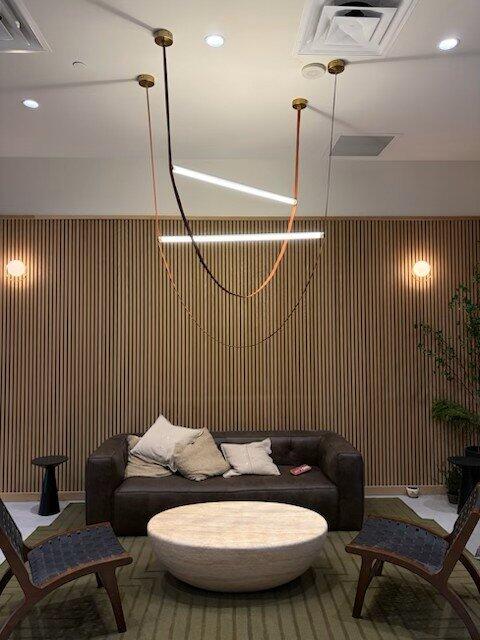
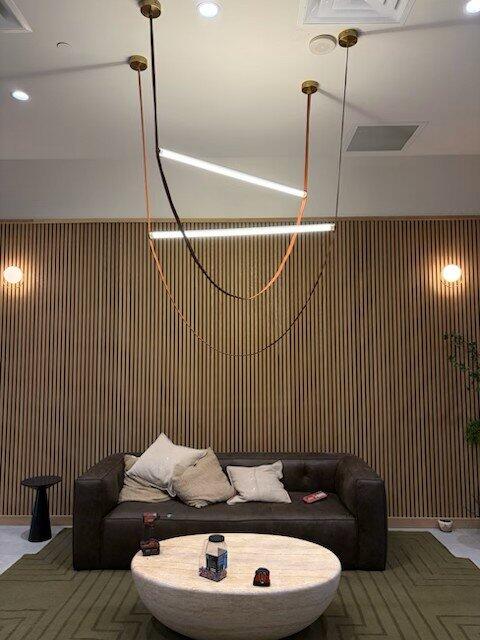
III. Model Specifications & Image Guide
1. Octagonal Brackets Series
A1 Octagonal Bracket

A2 Octagonal Bracket

A3 Octagonal Bracket

A4 Octagonal Bracket

A8 Octagonal Bracket

Edge-Trimming Octagonal Bracket

B-Type Butterfly Bracket

2. Swivel & Cross Brackets
105 Swivel Cross

2-in-1 Swivel Cross (Color Zinc)

2-in-1 Swivel Cross (White Zinc)

3. Straight Hooks (Linear Series)
US Standard Straight (White Zinc)

70MM Iron Sheet Hook

70MM Straight Hook

80MM Straight Hook

95MM Straight Hook

100MM Straight Hook

100MM US Standard Straight Hook

100MM Cross Hook

4. Open & Multi-functional Brackets
75MM Open-Slot Bracket

95MM Open-Slot Bracket

115MM Open-Slot Bracket

75MM Multi-functional Closed Bracket

95MM Multi-functional Closed Bracket

115MM Multi-functional Closed Bracket

5. Specialty & Fan Brackets
90MM Hat-Shaped Bracket

110MM Hat-Shaped Bracket

125MM Hat-Shaped Bracket

Additional Specialty Hooks
105MM Folded Octagonal Hook

102MM US Octagonal Hook

80MM Fan Hook

IV. Standardized Installation Steps
- Marking: Use a spirit level to ensure horizontal alignment. Mark hole centers based on the actual product received.
- Drilling: Drill vertically. Clear dust and insert expansion anchors.
- Fixing: Align the plate and drive screws. Fine-tune for levelness before tightening.
- Sealing: Use sealant in wet areas (kitchen/bath) or shims for uneven surfaces.
- Testing: Shake manually to ensure zero movement before loading weight.
V. Common Mistakes to Avoid
❌ Mounting on hollow walls / gypsum boards
✅ Solution: Must use reinforcement studs or back-boards first.
❌ Ignoring leveling (visual estimation)
✅ Solution: Always use a spirit level to prevent uneven stress.
❌ No expansion gap in humid areas
✅ Solution: Leave 6mm gap to prevent thermal expansion warping.